Click on images to see them in full screen
191359DB198A3EEC80257C94005BF549Microsoft 365 Prep
Door Tablet allows you to connect to Microsoft 365 in a similar way to how you connect to a local Exchange Server.
NOTE: We recommend utilising Microsoft Graph. See the next document down on the panel to the left. If using Microsoft Graph is not an option, continue here with EWS.
When you subscribe to Microsoft 365 you would have created meeting spaces using the Exchange Admin Centre (EAC).
The overall process is:
- Create an account that will be used by Door Tablet to access meeting room resources, using EAC. We call this the "service account"
- Create your meeting room resources, using EAC
- Create a "RoomList" group, using PowerShell (no EAC option)
- Add your resources to the RoomList group you created above
- Decide how your "service account" will access the resources: using Impersonation or Folder rights
- Enable Impersonation, using EAC, or Folder rights, using PowerShell
- Test your work
For details on how to define an application in Microsoft 365 see here:
 VIDEO: Connecting to your own Microsoft 365
VIDEO: Door Tablet and Microsoft 365 GCC High
By way of a reminder, this is what you had to do:
Login to Microsoft 365 and go to
https://admin.exchange.microsoft.com/#/resources
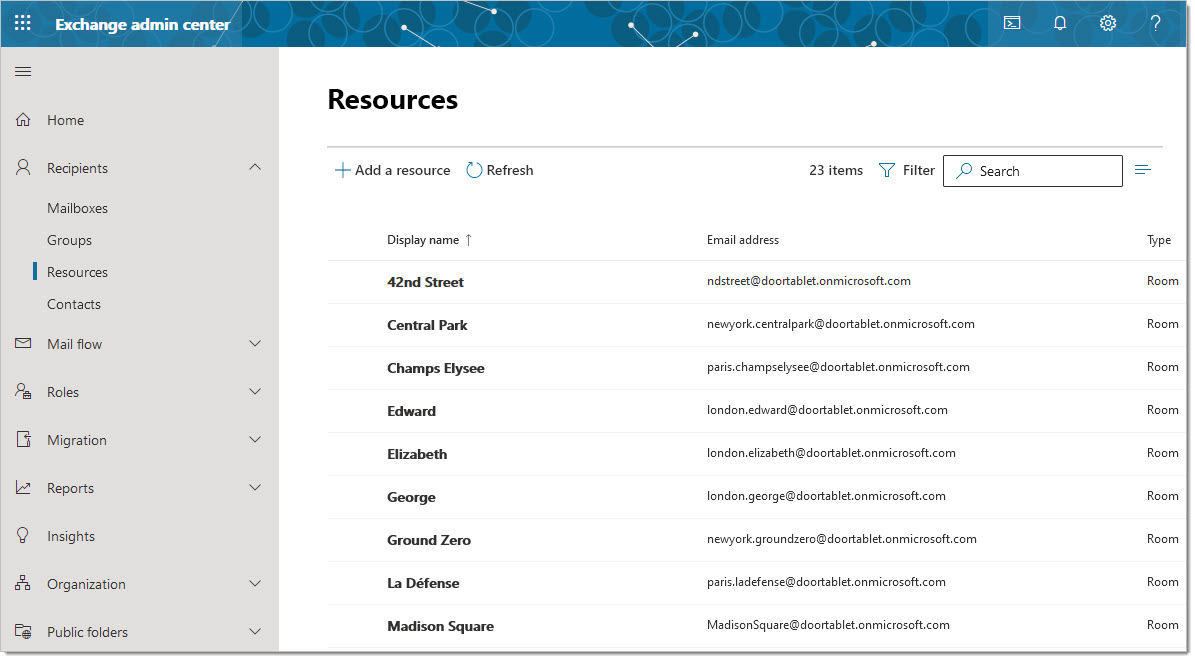
Resources will show like so:
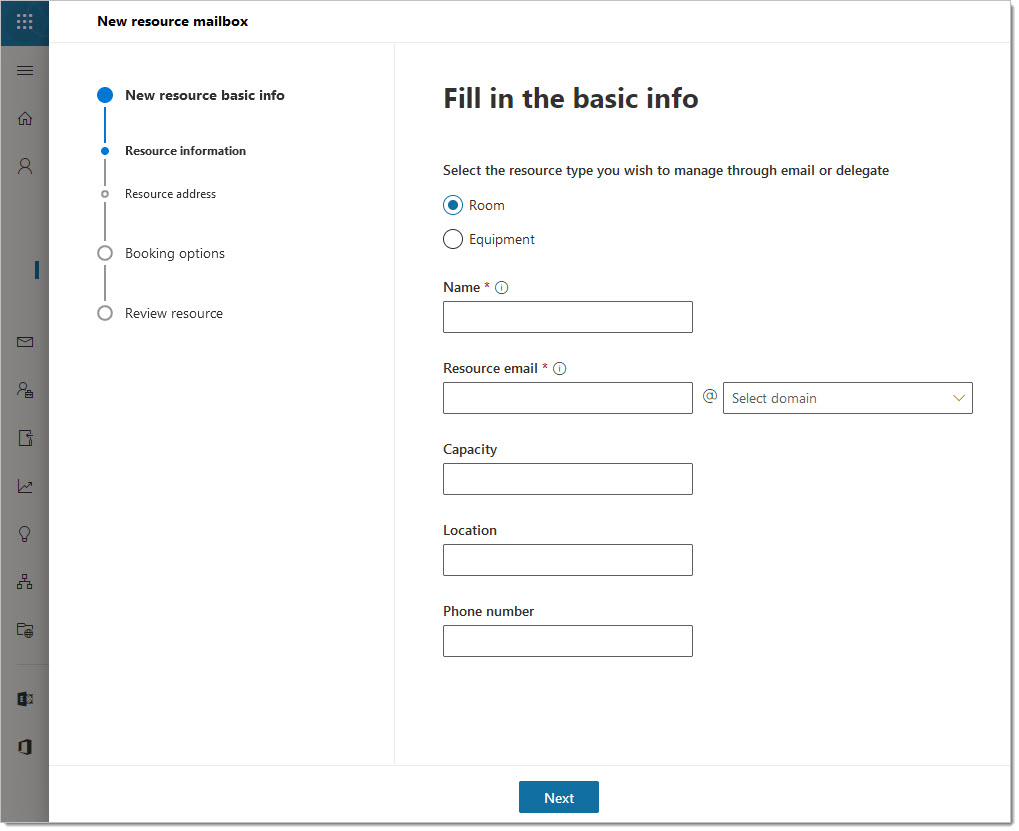
When adding a meeting space:
 Impersonation
If you opt to use impersonation you need to perform this step.
If you use Folder access rights, skip this step.
Once your meeting spaces have been defined, you will need to enable the account for impersonation. Follow these steps:
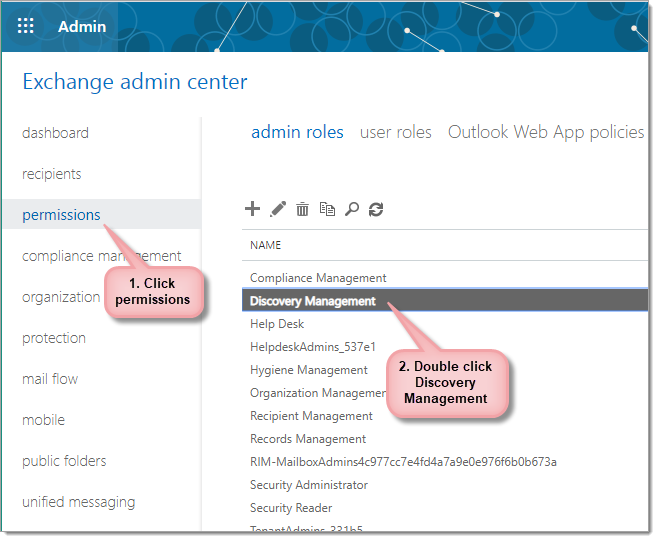
Edit "Discovery Management":
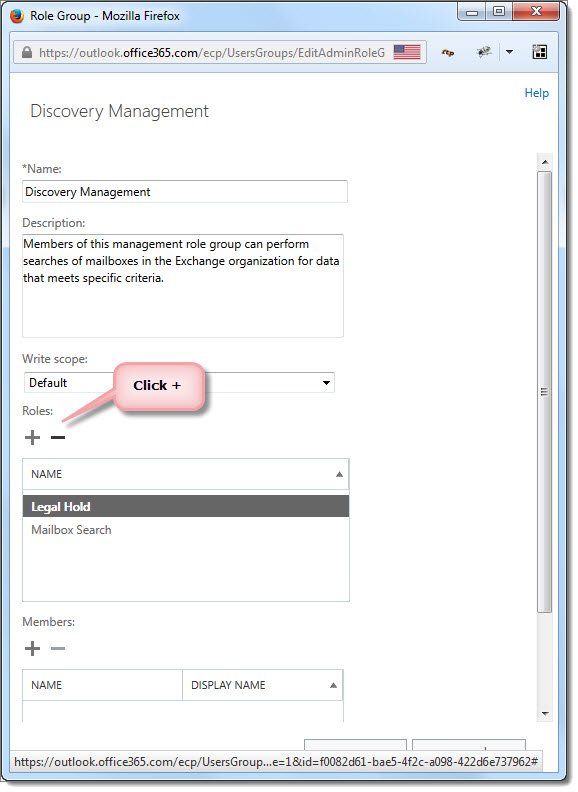
Add a role:
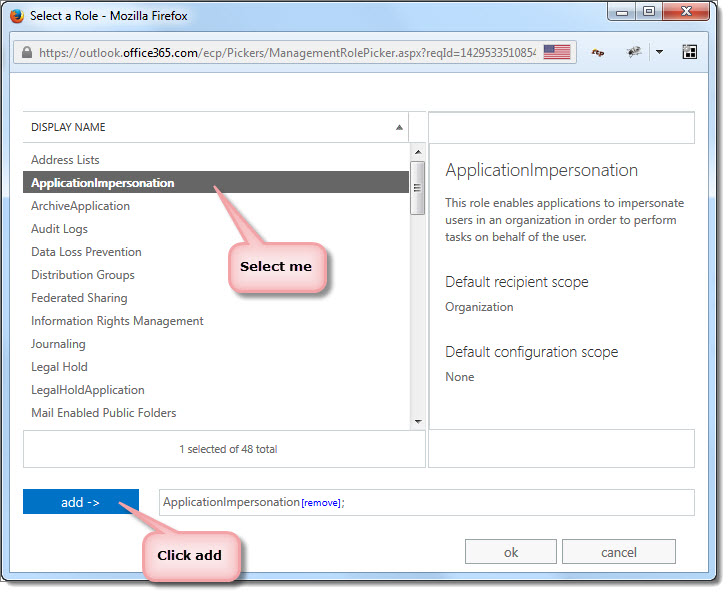
Now add the administrator to the members:
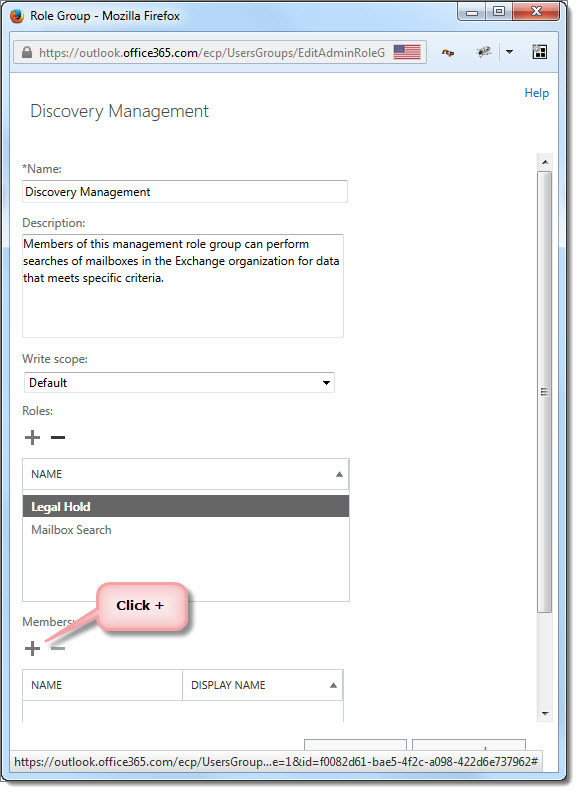
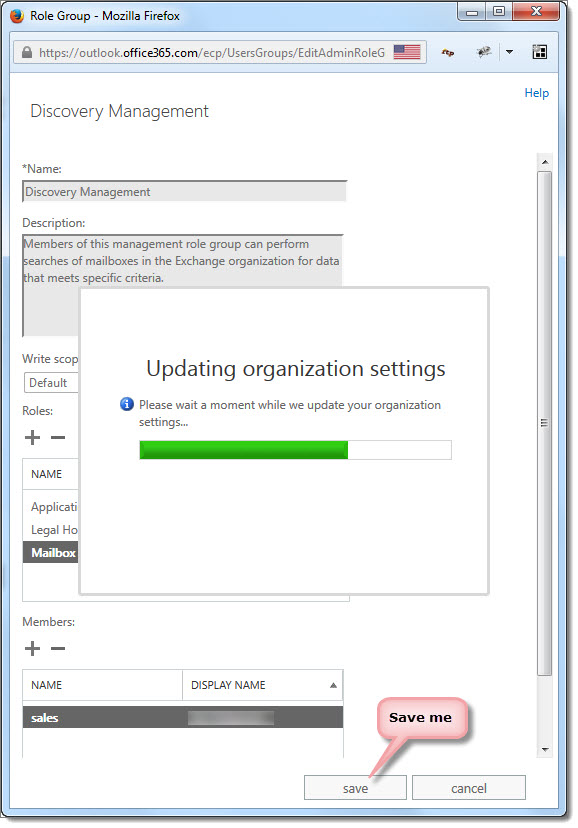
Once you add the name to the members, save your work. Microsoft 365 will update the settings, like so:
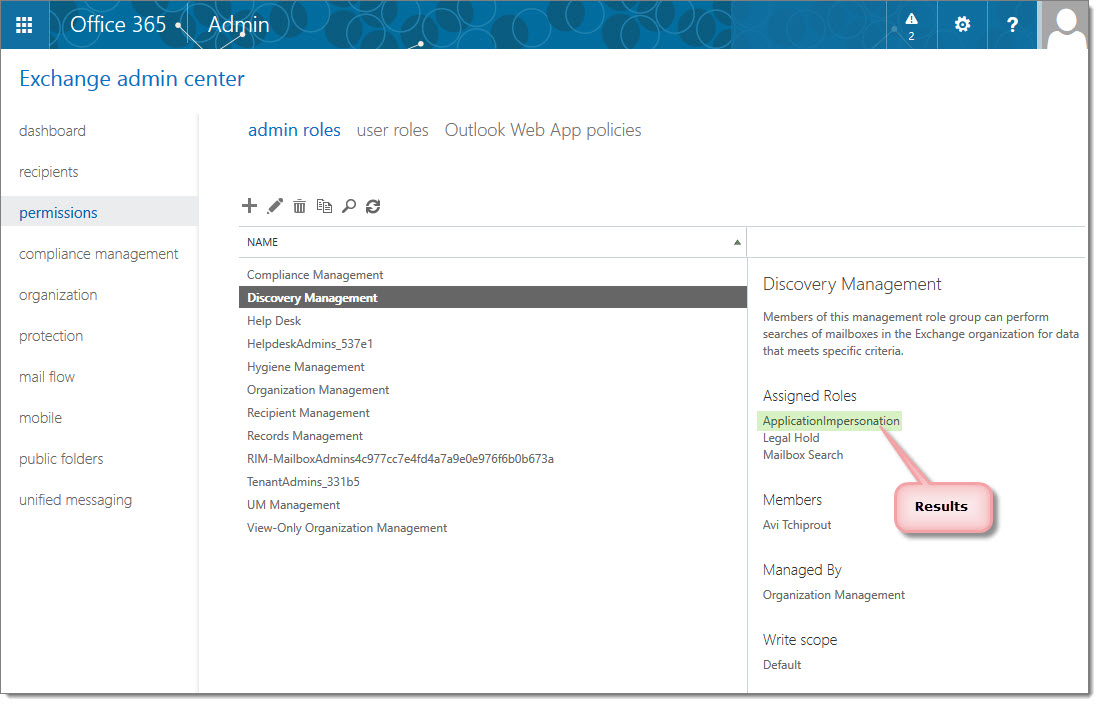
And the result is visible here:
 Using Folder rights (and avoiding Impersonation)
From V8.4.11 you may enable Door Tablet to access your resources without using Impersonation. Impersonation makes it easy for you to handle a large number of meeting spaces without the need to remember to grant the service account rights to the resource calendars.
Note: when using Microsoft Graph you cannot use impersonation and the check-box above will not show.
Creating a RoomList Group
With Microsoft 365 you can create a RoomList Group which is used when creating meeting spaces in Door Tablet. To create such a group and include your meeting spaces within it you will need to use Windows PowerShell. Ensure it's the latest version.
Using PowerShell
At this point you should perform a number of PowerShell commands. Please see here

Check that your meeting space lists are updated in Outlook:
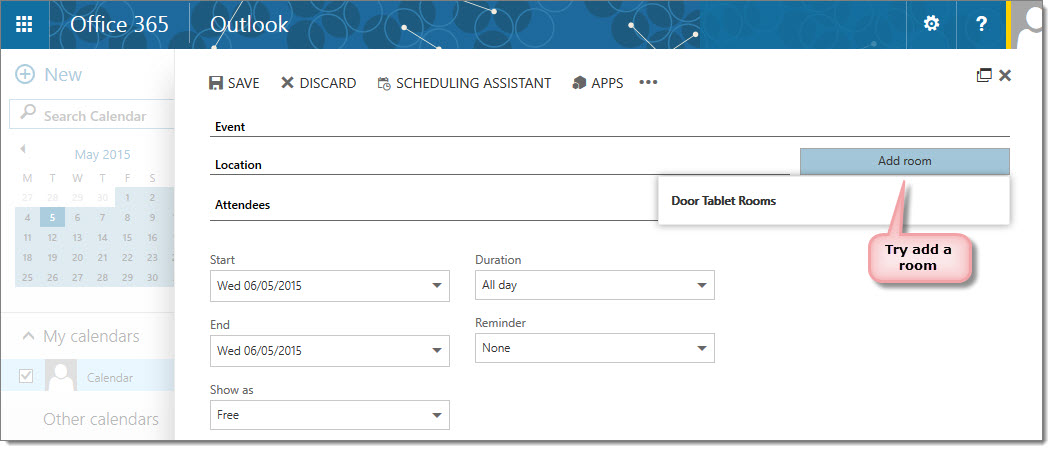
You should see the list of meeting spaces within:
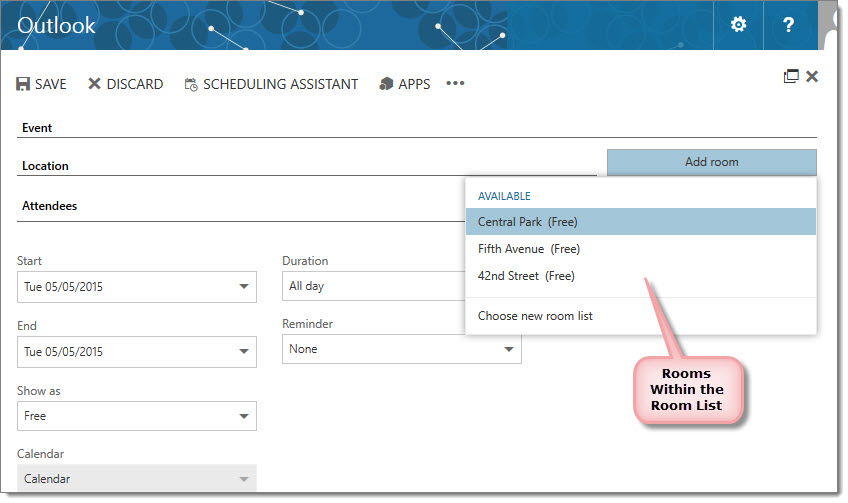 Accessing Microsoft 365 from your Door Tablet server
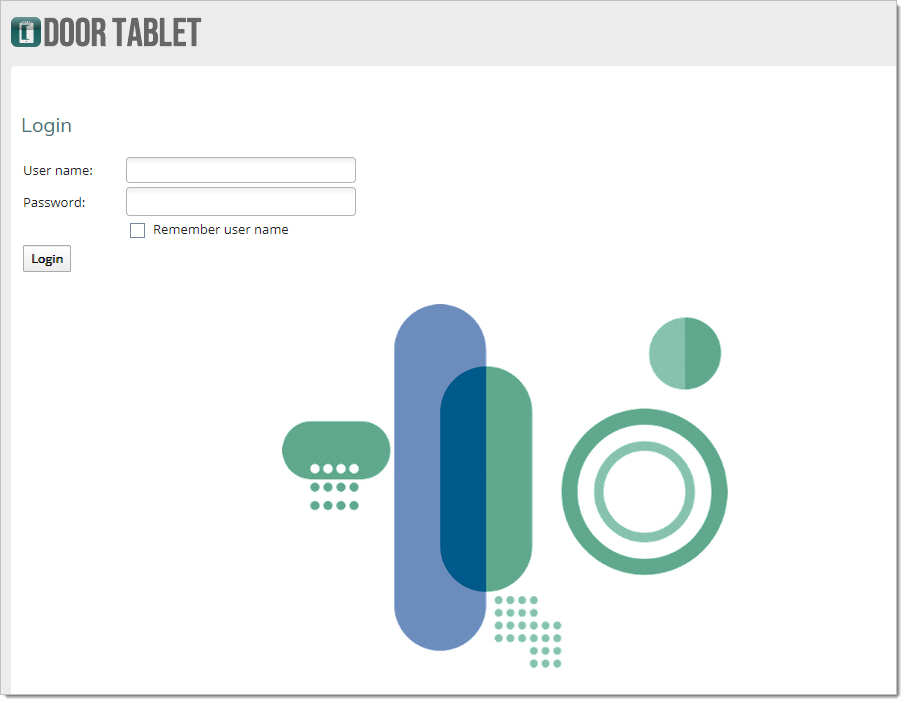
Login to the Web UI using the administrator credentials:
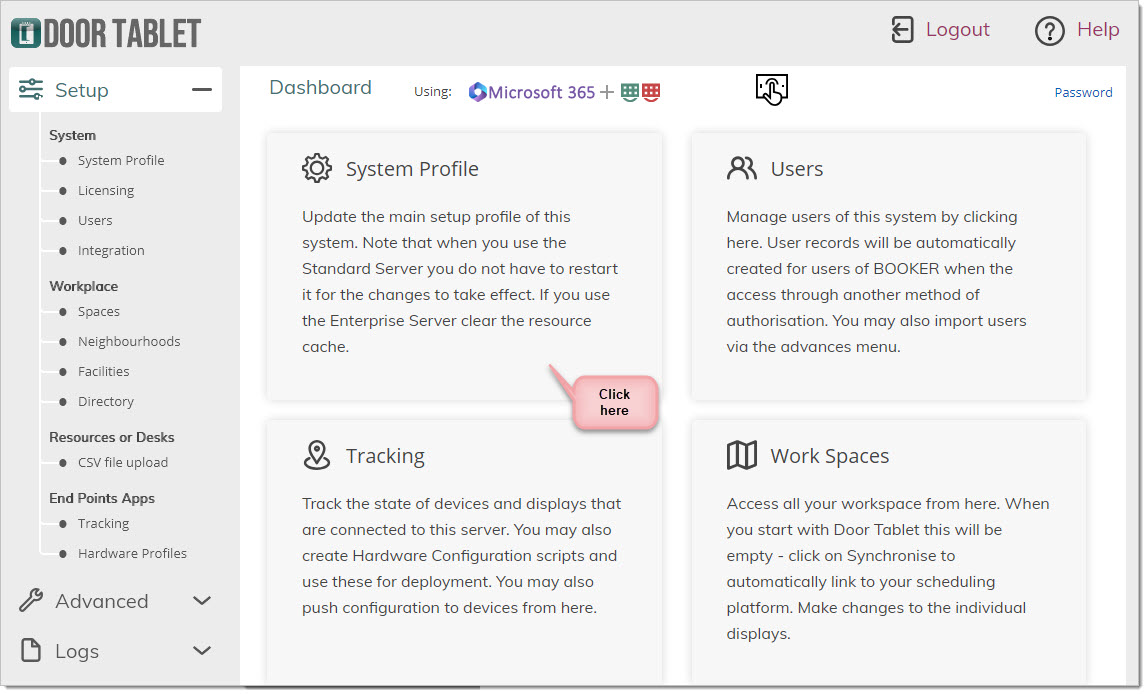
From the dashboard click on "System Profile":
Fill the profile as shown below:
- Select Microsoft 2013 or Exchange
- Select the variant to Microsoft 365
- Copy and paste the application ID and Secret. For details how to get these see

- Username: the full address of the Microsoft 365 administrator used during registration and Application authorisation
- Password: the password of the above
- Group: the RoomList Distribution group you created
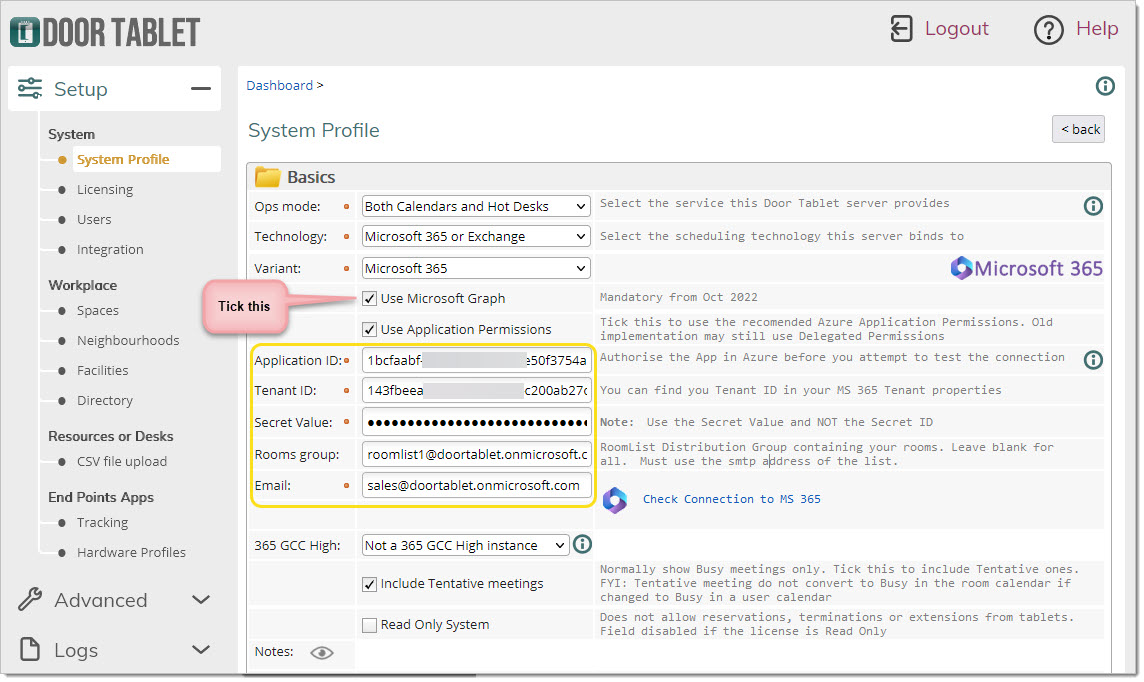
You are now ready to test the connection, click on "Check Connection to Microsoft 365":
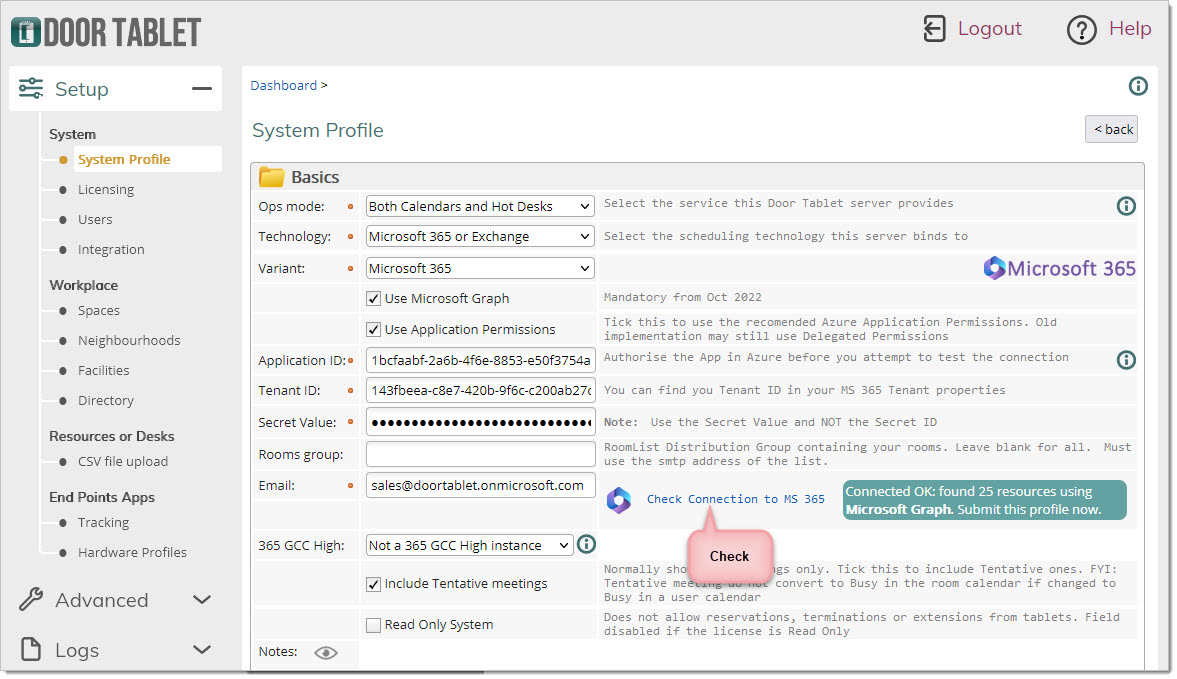 Note:
Note: if a meeting space is included in more than one group the above counter may be greater than the true number.
Note: room discovery is not implemented in Microsoft 365 so the next task is for you to create your meeting spaces manually.
Create a Room in Door Tablet that Connects to an Microsoft 365 room
- From the Dashboard select "Spaces"
- Click on "+ Space"
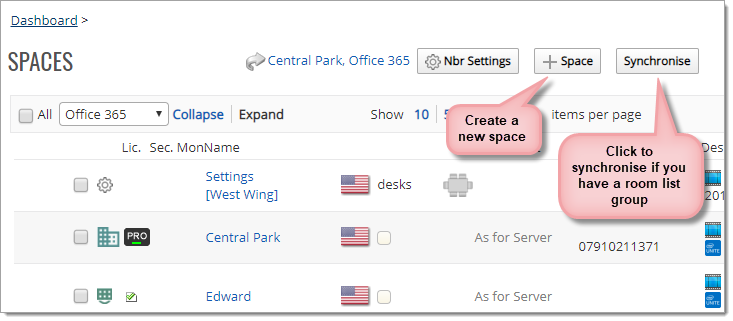
For each meeting space use the email address for the room on Microsoft 365, as follows:
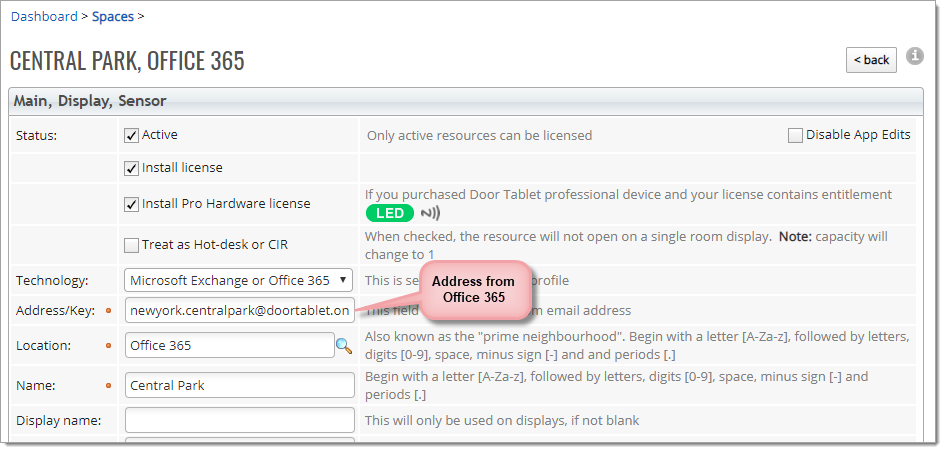
- Ensure you mark the meeting space as Active so that you can open it from the tablet App
- Save the meeting space
You are now ready to test your complete set-up by creating an appointment in Outlook Web Access and viewing it on the tablet.
Test your set-up
Create a meeting in Outlook Web Access and select the meeting room you wish to use, for example:
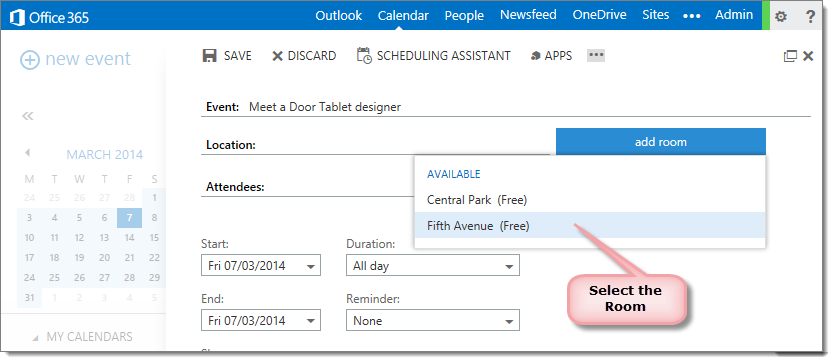 Save your booking
You should now be able to see the reservation on a tablet.
View the schedule on a Door Tablet client
- Open the App on a Door Tablet display device or a browser
- Select the meeting space